


 I should have finished my Christmas cards for this year but can't help myself!!!!
 I made these two ornaments for my Queensland Grandsons, I found the on Simply Paper blogspot, http://wwwsimplypapercreativity.blogspot.com, this lady has so many lovely projects that anyone should be inspired to do good work. The Square ornament was die cut with a Tim Holtz cutting die ""Frame Back Ornament" and covered with Megs Garden "Vintage Christmas" paper, red pleated ribbon around the edging and silver pen for the writing and Kindy Glitz silver for the edging. The Birdcage is inspired from the same website and I used plain cardstock and used the tim Holtz Movers and Shapers magnetic die "Birdcage" and I used coloured card stock for the little bird, I used silver Kindy Glitz to cover the birdcage and used a scrap of lace and some little coloured light ornaments for the bottom edge and a red stick on rhinestone for the top and used satiny white ribbon for the hangers.
 Here is a birthday card I made today for one of my boys who has a birthday in January, I used dark blue card stock and embossed the front with Spellbinders M-Bossabilities EL-016 with the B side - Footprints. I cut out the Tim Holtz cutting die in white "Iron Gate", and the two white cars are a Marianne Creatables cutting die LR0198, on the inside I used a designer paper that I have had in my stash for a long time, this time I used the cars in a dark blue and the Happy Birthday was cut out by my friend Helen! Thanks Helen!, the inspiration for this card comes from Karen Burnstein at Sizzex www.sizzex.com

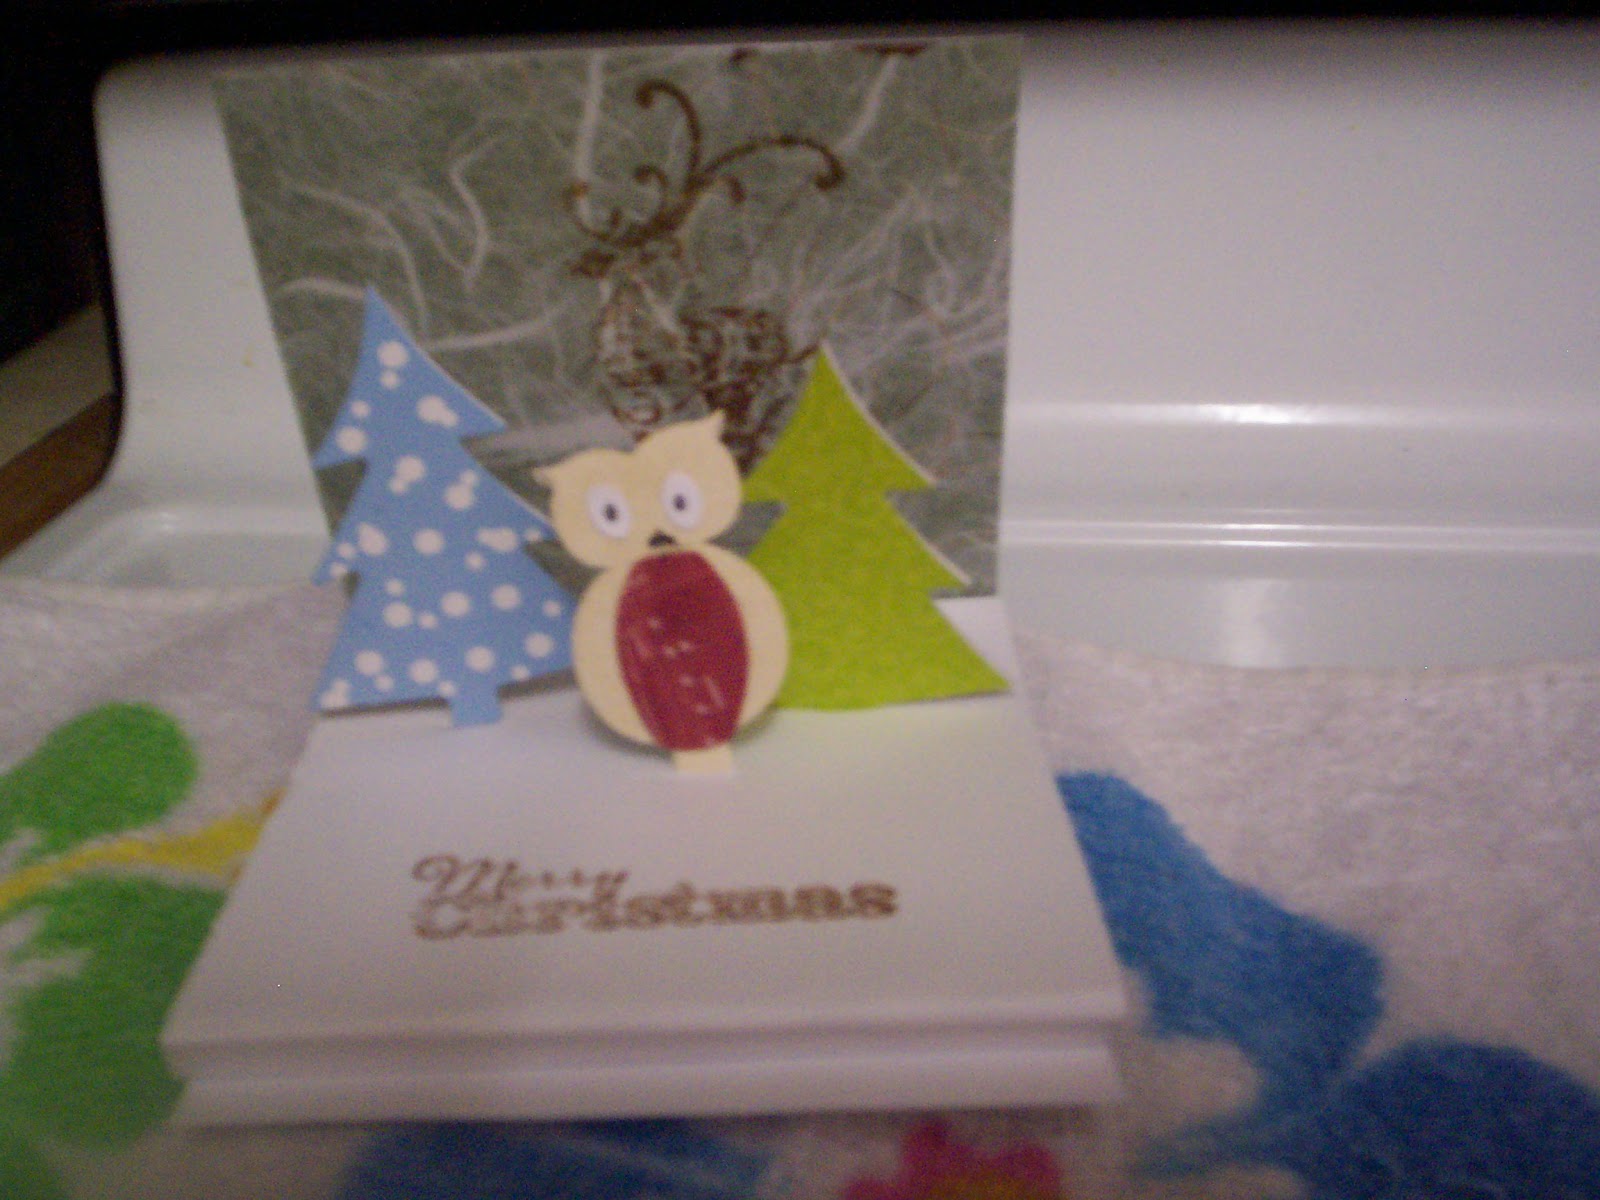
 I have been making little 3 x 3" envelopes and had lots of white paper left over, and was wondering what do do with it. I did a bit of web browsing and found these lovely little notebooks on http://www.cremedelacraft.com