


 I should have finished my Christmas cards for this year but can't help myself!!!!
 I made these two ornaments for my Queensland Grandsons, I found the on Simply Paper blogspot, http://wwwsimplypapercreativity.blogspot.com, this lady has so many lovely projects that anyone should be inspired to do good work. The Square ornament was die cut with a Tim Holtz cutting die ""Frame Back Ornament" and covered with Megs Garden "Vintage Christmas" paper, red pleated ribbon around the edging and silver pen for the writing and Kindy Glitz silver for the edging. The Birdcage is inspired from the same website and I used plain cardstock and used the tim Holtz Movers and Shapers magnetic die "Birdcage" and I used coloured card stock for the little bird, I used silver Kindy Glitz to cover the birdcage and used a scrap of lace and some little coloured light ornaments for the bottom edge and a red stick on rhinestone for the top and used satiny white ribbon for the hangers.
 Here is a birthday card I made today for one of my boys who has a birthday in January, I used dark blue card stock and embossed the front with Spellbinders M-Bossabilities EL-016 with the B side - Footprints. I cut out the Tim Holtz cutting die in white "Iron Gate", and the two white cars are a Marianne Creatables cutting die LR0198, on the inside I used a designer paper that I have had in my stash for a long time, this time I used the cars in a dark blue and the Happy Birthday was cut out by my friend Helen! Thanks Helen!, the inspiration for this card comes from Karen Burnstein at Sizzex www.sizzex.com

 I have been making little 3 x 3" envelopes and had lots of white paper left over, and was wondering what do do with it. I did a bit of web browsing and found these lovely little notebooks on http://www.cremedelacraft.com
 This is a male card, I have need of a lot of male cards and used a new embossing folder, Spellbinders M Bossing "Kickn Rubber" I heat embossed the image with Tim Holtz distressing ink and powder "Silver" and used a Marianne cutting die for the sportscar. It seems to work, although I had trouble with the stack in the Big Shot, and instructions they gave did not suit my machine so I had to play around until I got it right.
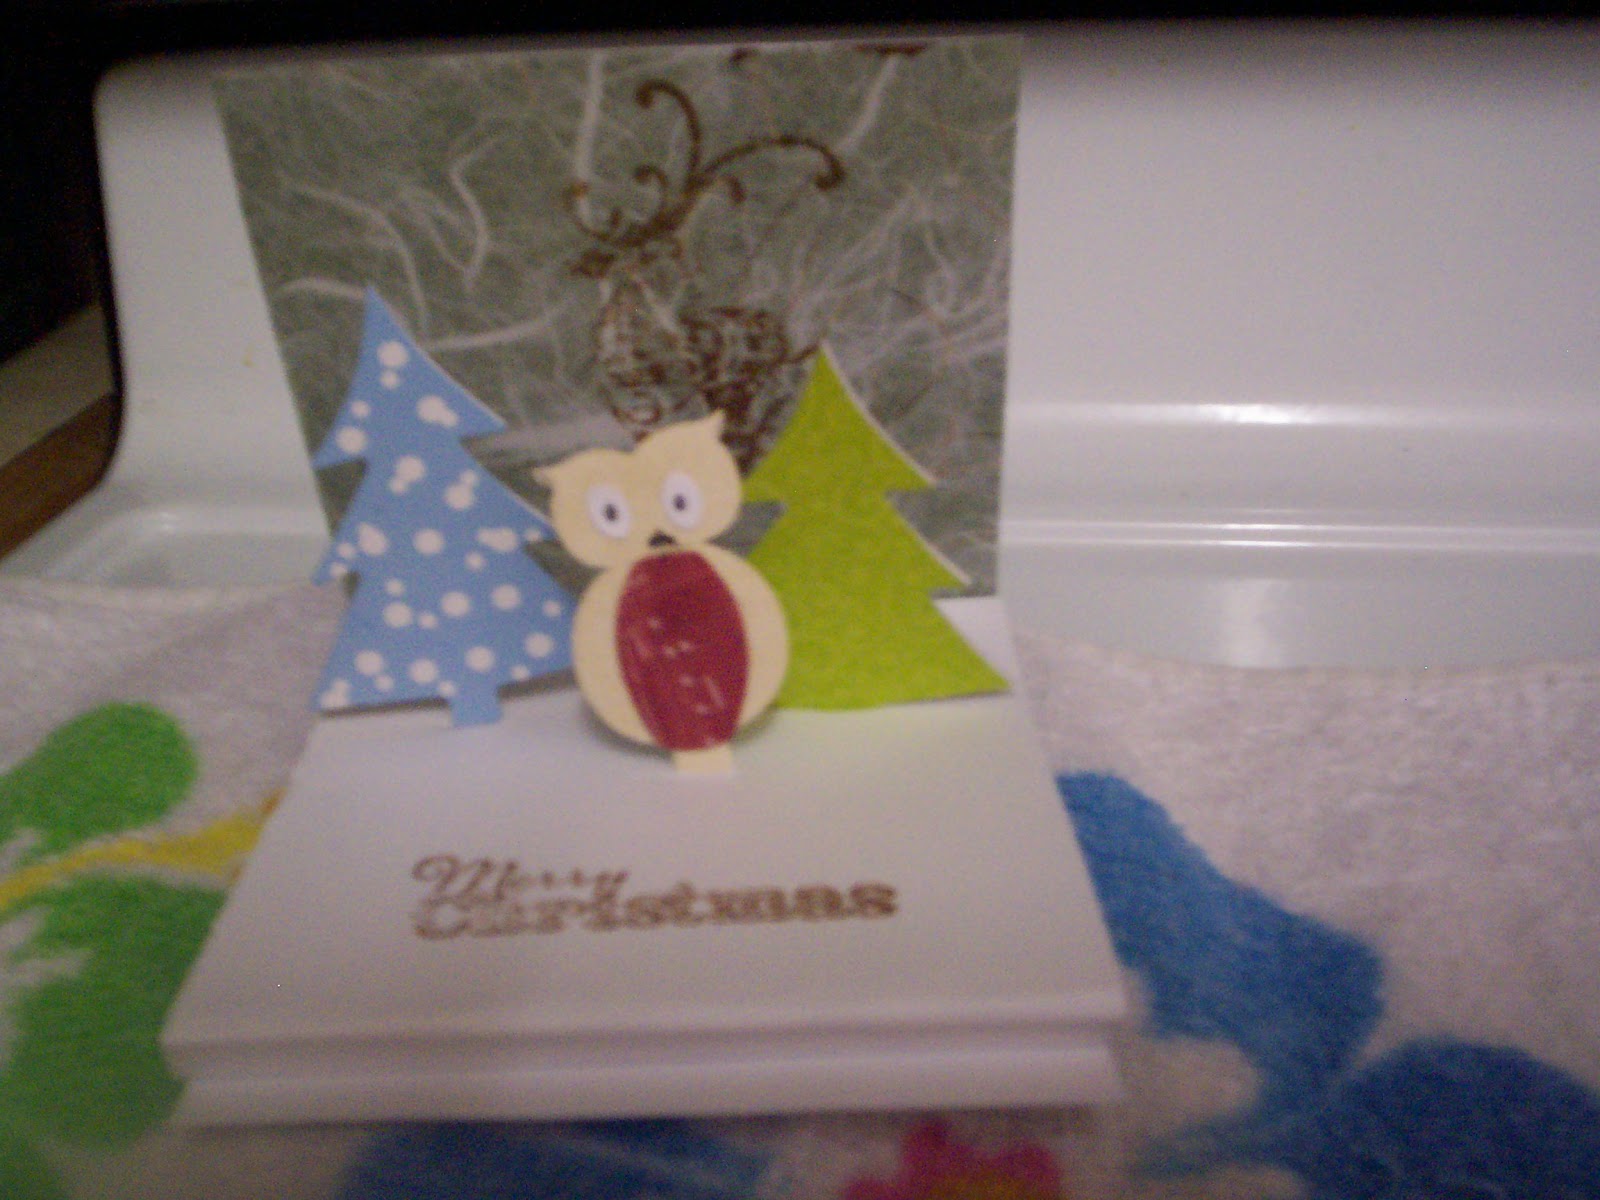
 Here is another Christmas Card I made today with a Sizzex Embossing folder "Snow and Trees", together with the free Gingerbread Man cutting die that came in this set, I also used a merry christmas cutting die from the Quickutz Jolly Christmas set. The colours seem to work even though this card was also made from scraps from my scrapbox.

 pad, for the inside I used the green card stock, to Tami's instructions and used scrap paper for each side of the inside of the card, I will probably make some more of these where I get the tree less crooked.


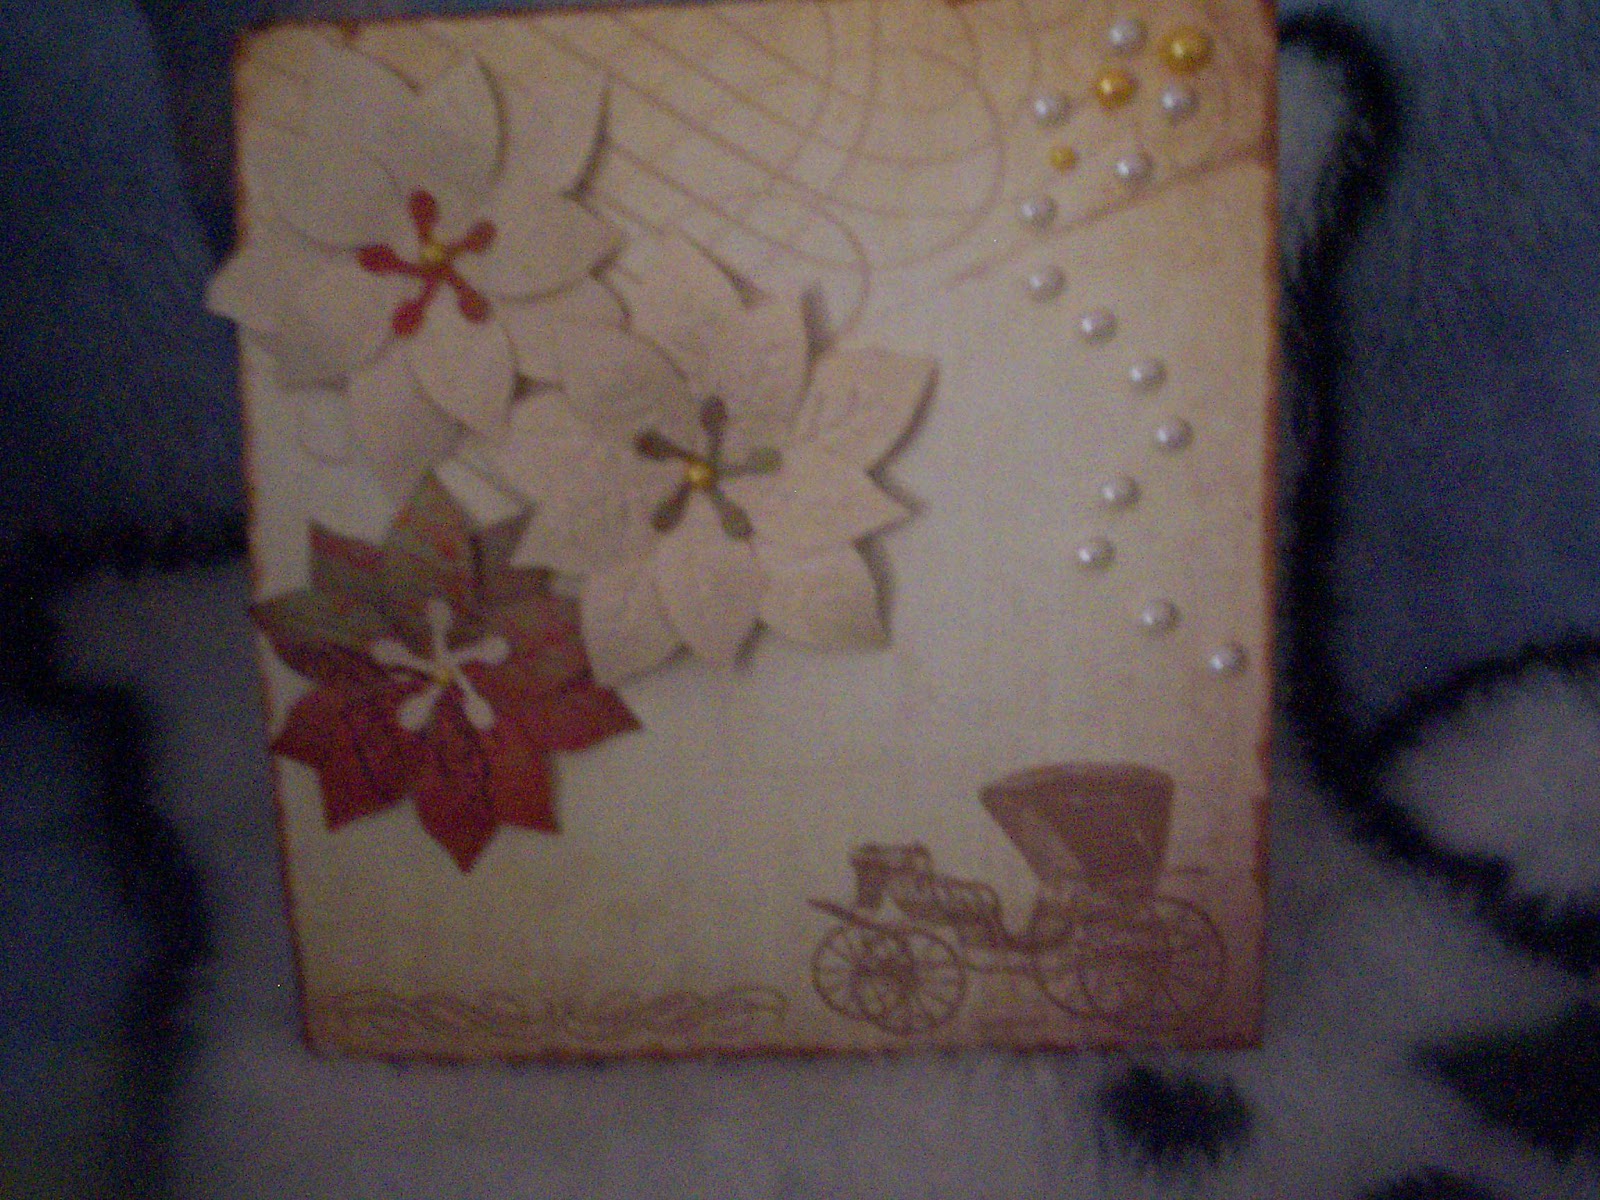
 This is the second card I made today, it is a standup card. I got the inspiration from the Stamping, Papercraft and Cardmaking magazine , vol 18, No.11, and the instructions from Creative Cardmaking Issue 40. I embossed the base with a floral cuttlebug embossing folder and cut the tag from a template for a tryptch card that I got from Milo Lilja http://milolilja.net, I cut a window with a Sizzix Movers & Shapers die "window panes" that I have had in my stash of cutting dies for a long time, I used the Marianne die "Pointsettia" to cut out the flower and backed the window with small christmassy images.I used red Kindy Glitz for the sparkle


 I made this card tonight, I got the inspiration from one of the blogs, but I cannot remember who's it was, and deleted it before I noted the name. But I did like it and used three different blue cardstocks with a blue/white Christmas ribbon from my stash to go across the back under the medium blue and white cardstock for the landscape which was cut from a Memory Box die "Country Landscape" this is a great die and can be used in a lot of different ways, I enjoyed doing this card.


 This is the first step card that I have tried, I got the pattern from Splitcoaststampers.com, this is an excellent site with lots and lots of tutorials, I made it a Christmas card with Tim Holtz pine trees and sizzes snowflakes with kindyglitz silver for the sparkle. For a first I am pleased with it, I also used small red stick on pearls from Kaisercraft Basics


 This is card number three, I used black cardstock with patterned paper downloaded from the Free Digi stamp site, they have some lovely images, I used the Moon, Flying Witch and large pumpkin free digi stamps from about.com rubber stamping. I used a dark purple gel pen to colour the witch and her car on the brookstick, I think this turned out fine for a young boy.


